Naming Your Webpack Config Files
In this article we're going to look at what exactly is happening when we compile the server code inside node and express. This step leads us directly into the kind of setup you see in advanced boilerplates like NextJS or Create React App.
We're going to start where we left off in the last article. If you need to catch up:
git clone https://github.com/lawwantsin/webpack-course.git
cd webpack-course
git checkout named-configs
npm install
Naming Webpack Configs
Okay, so in order to properly do SSR in development, we need a dev-server config file. Let's start by duplicating the webpack.server.js file and renaming all of them for their separate environments.
In terminal:
cd config
cp webpack.server.js webpack.dev-server.js
mv webpack.server.js webpack.prod-server.js
mv webpack.prod.js webpack.prod-client.js
mv webpack.dev.js webpack.dev-client.js
cd ..
So now we have separate configs. Some are for the server build and some are for the client build. But webpack doesn't yet know which is which. We can remedy that by adding name to the top of each.
In webpack.dev-server.js and webpack.prod-server.js above entry.
name: "server",
and in the webpack.dev-client.js and webpack-prod-client.js as well:
name: "client",
Same command. Different Environments
In package.json, let's point to src/server/main.js again instead of our final bundle.
"scripts": {
  "prod": "NODE_ENV=production node src/server/main.js",
  "dev": "nodemon --watch src/server --watch config --inspect src/server/main.js",
}
And remove "start" "build" "build:dev-server" and "build:server" as we won't need them anymore.
It may seem like we're backing up, because we are. We're going to compile using the function form of webpack, instead of the command line.
Using Multiple Configs
Webpack (the function) can accept multiple configs as an Array and returning multiple compilers. We have already been using this idea in our src/server/express.js.
Let's import them near the top.
import clientConfigDev from "../../config/webpack.dev-client"
import serverConfigDev from "../../config/webpack.dev-server"
import clientConfigProd from "../../config/webpack.prod-client"
import serverConfigProd from "../../config/webpack.prod-server"
Let's move the webpack = require out of the if statement and up top.
import webpack from "webpack"
Now inside the if statement for development, let's make some changes.
The webpack function can take an array of 2 dev configs. We then isolate the clientCompiler by grabbing the first element out of the returned compiler.compilers array.
if (isDev) {
  const compiler = webpack([clientConfigDev, serverConfigDev])
  const clientCompiler = compiler.compilers[0]
  const serverCompiler = compiler.compilers[1]

  require("webpack-mild-compile")(serverCompiler)

  const webpackDevMiddleware = require("webpack-dev-middleware")(
    compiler,
    clientConfigDev.devServer
  )

  const webpackHotMiddleware = require("webpack-hot-middleware")(clientCompiler)

  server.use(webpackDevMiddleware)
  server.use(webpackHotMiddleware)
  console.log("Middleware enabled")
}
Below the else, (for production mode) under the else, let's remove this server("*") middleware by cutting it out. We're going to put this in a new file.
In terminal:
touch src/server/render.js
In our new file, server/render.js let's paste that middleware in, make it an export default that is a function which returns a function. I'm just using the shorthand es6 notation. Very important.
This is a simple piece of middleware that renders our AppRoot inside a base html file. But now, for the first time it's going to be the same HTML for both development and production.
Let's take a few imports from express.js with us to render.js.
React, renderToString and our AppRoot component.
import React from "react"
import { renderToString } from "react-dom/server"
import AppRoot from "../components/AppRoot"

export default () => (req, res) => {
  res.send(`
    <html>
      <head>
        <link href="/main.css" rel="stylesheet" />
      </head>
      <body>
        <div id="react-root">
          ${renderToString(<AppRoot />)}
        </div>
        <script src='vendor-bundle.js'></script>
        <script src='main-bundle.js'></script>
      </body>
    </html>
  `)
}
Now, here's where things get crazy. Let's make our entry point in the webpack.dev-server.js config this piece of "middleware".
In webpack.dev-server.js:
entry: "./src/server/render.js",
output: {
  filename: "dev-server-bundle.js",
  path: path.resolve(__dirname, "../build"),
},
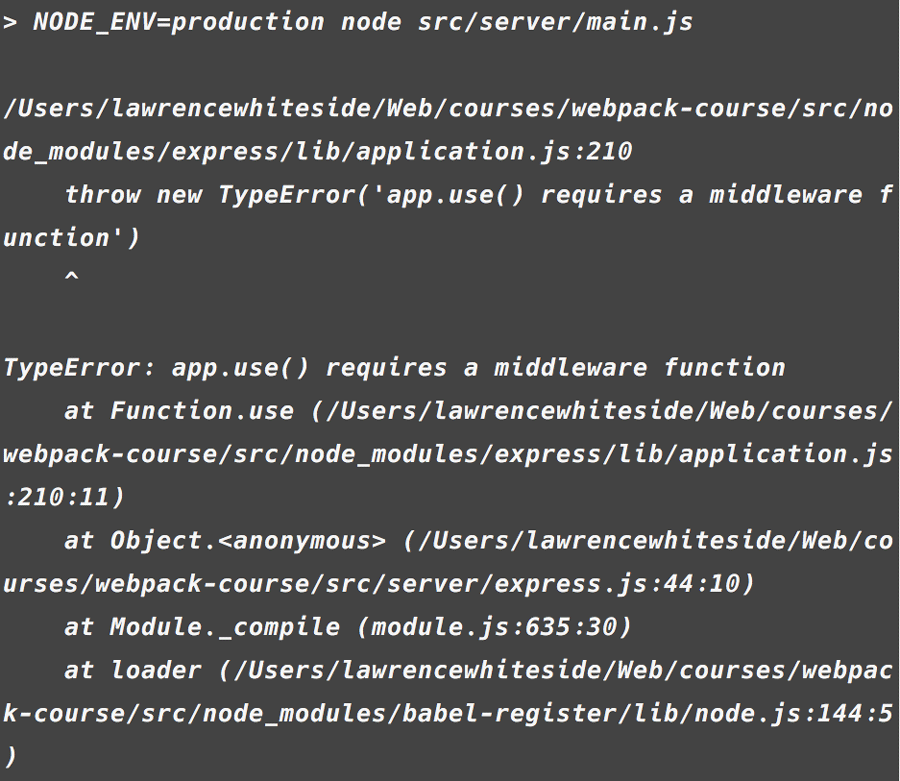
Now if you leave the entry object named server you'll get this error. So instead just name it a simple string. So let's just take this thing, error by error.
We'll make sure our build is reloading and open it in the browser.
npm run dev

We get an error that webpack doesn't like anything that's not an object. If you remember, I showed you how to build a webpack config out of a function. Turns out, when we use the MultiCompiler by passing in an array of configs, webpack prefers the object version.
So let's make these configs objects again, instead of functions.
module.exports = env => {
  return {}
}
to
module.exports = {}
Make sure to remove the extra bracket at the bottom as well and while we're down there, in the webpack.DefinePlugin, where is says env.NODE_ENV, write the string "development" or "production" depending on what file you're in.
NODE_ENV: JSON.stringify(env.NODE_ENV)
to
NODE_ENV: JSON.stringify("development")
Let's run it again. npm run dev. You should see we're where we started. The site running and updating with HMR just as you'd expect. But we're still serving form the HTMLPlugin and there's no SSR yet. We're going to need to dump the HTMLWebpackPlugin once and for all to enable SSR in dev, and we'll do that in the next episode.