Setup Heroku Hosting for Production
In this section, we're going to dive into the configuration changes necessary to really control our bundles in a production scenario. We'll get into:
- Optimizing bundles for size for Time to First Byte (TTFB)
- Exporting separate files from our
main.jsand loading them asynchronously. - Server-side rendering for Time to First Paint (TTFP)
- Loading Fonts and Markdown
- Code splitting front end and back end code.
- HTTP2/Caching/CDNs and other futuristic asset considerations.
But first, we need a platform (or 2) to practice on. I use Heroku for most of my node projects. , which is an industry leader in cloud app deployments and runs atop Amazon Web Services.
We're going to start from a particular branch in our repo that kind of skips over the Choose Your Own Adventure section.
git clone https://github.com/lawwantsin/webpack-course.git
cd webpack-course
git checkout heroku
npm install
Setup Heroku
Heroku has a Command Line interface and a GUI. We're going to use the CLI, the Heroku Toolbelt. Please sign up for a Heroku account and download the Toolbelt app for your platform.
Once installed, in your terminal:
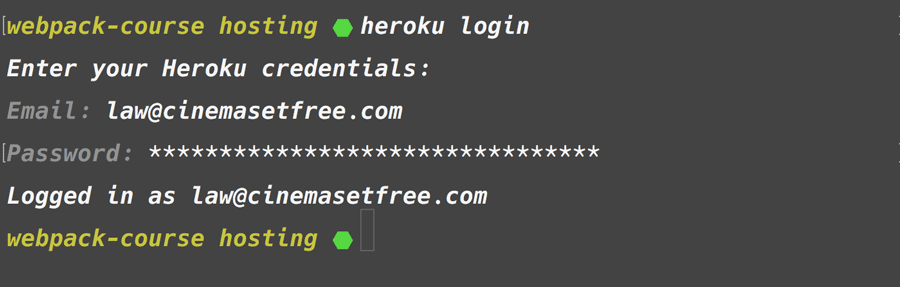
heroku login
Follow the prompts to enter your password.
Once complete you need to create a new project from within the project and
create a Procfile for it. This is a "process file" which tells Heroku what
commands to run on startup.
heroku create
touch Procfile
In Procfile:
web: npm run prod
In package.json define a new script shortcut:
"prod": "NODE_ENV=production node src/server/main.js"
We're explicitly setting the environment before the command, even though Heroku
defines it anyway. Run heroku config to see the NODE_ENV=production setting.
We do this so we can run heroku locally in preparation for the push to prod.
In src/server/express.js we see that express.js is already setup for
production, by wrapping much of the DevServer middleware in an if statement.
Everything works except the Server's Port. Heroku sets this in a PORT
environment variable, so if this is set, we'll use it, otherwise, default to
8080.
const PORT = process.env.PORT || 8080
We have nothing in our dist folder, and the static middleware will be looking there. So let's fill that folder up:
npm run build
That should give you an index.html and a js and image file in dist. Now we can
run locally to make sure all is working.
heroku local
In your browser go to http://localhost:5000. And it should be working. You can see the site is working.
But there's an error.
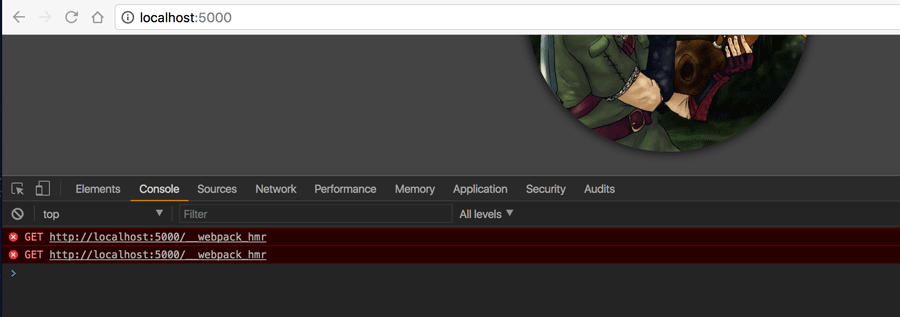
Hot Module Reloading is still being added to the client main-bundle.js because
it's still in the main.js
We can comment out in main.js for now.
// require("babel-runtime/regenerator")
// require("webpack-hot-middleware/client?reload=true")
In webpack.dev.js we can also comment out the HMR Plugin.
plugins: [
  // new webpack.HotModuleReplacementPlugin(),
  new webpack.NamedModulesPlugin(),
  ...
]
Okay, now we can rerun our build and restart heroku locally.
npm run build
heroku local
In Sum
git checkout heroku-final
And the error is gone.
Finally, let's push this up to heroku, by committing our changes and pushing
them to heroku's git repo. We can see using heroku create added a git remote
to our project in .git/config.
In terminal:
git commit -am "ready for production"
git push heroku heroku:master
Usually Heroku likes to use the master branch, but since we're on another branch, we can simply use this color syntax to specify which branch will be pushed to master in our remote. In this case the branch is heroku, but it could be any name.