Production Stylesheets with MiniCSSExtractPlugin
In this article we're going to cover the MiniCSSExtractPlugin for Webpack and dive into the best strategies for CSS in a Production Setting.
We're going to start where we let off in heroku. If you need to catch up:
git clone https://github.com/lawwantsin/webpack-course.git
cd webpack-course
git checkout prod-css
npm install
So, currently, we're using the style-loader to add our css to the head of our document at runtime. There's a slight flash as webpack loads and executes the JS before the line that injects the CSS, then the renderer rebuilds the page. Fine for development, not ideal for production. We want the first paint to happen almost immediately.
To do that we're going to export the css as a separate file using MiniCSSExtractPlugin.
In terminal:
npm install mini-css-extract-plugin
Let's duplicate the webpack config to make some production optimizations.
cd config
cp webpack.dev.js webpack.prod.js
In webpack.prod.js at the top:
const MiniCSSExtractPlugin = require("mini-css-extract-plugin")
Change the css rule to:
{
  test: /\.css$/,
  use: [
    {
      loader: MiniCSSExtractPlugin.loader
    },
    {
      loader: "css-loader"
    }
  ]
}
Finally add the plugin to the plugins array at the bottom of config/webpack.prod.js:
plugins: [
    ...
    new MiniCSSExtractPlugin({
      name: "[name].css",
      chunkName: "[name.css]"
    }),
    ...
  ]
Now let's change the build script in our package.json to point to the new config.
"build": "webpack --config=config/webpack.prod.js"
"build:dev": "webpack --config=config/webpack.dev.js"
Now when we run npm run build we get a new file dist/main.css.
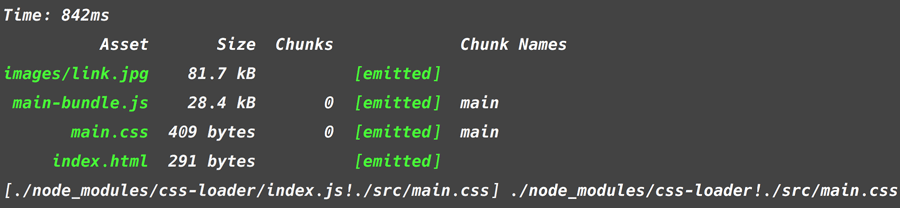
Let's compare that to the dev build, where the css is included in the main-bundle.js. Run npm run build:dev:
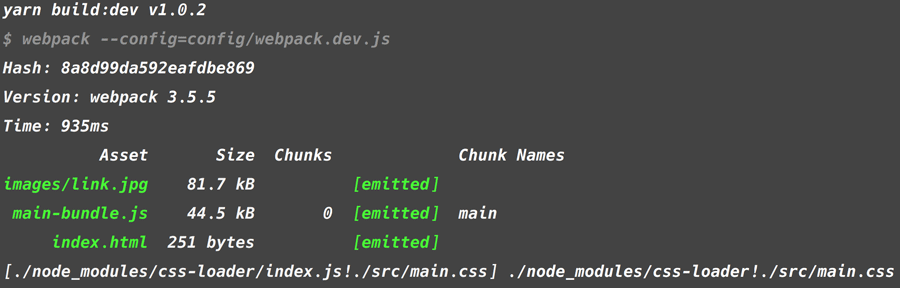
44.5Kb vs 28.4Kb. A difference of 16.1Kb, which is the style-loader code used to build the style tags in development. Because inject: true is specified in the HTMLWebpackPlugin, main.css is automatically added as a <link>.
Optimizing CSS
There are 2 ways to compress CSS, the first is pretty simple. You could add an option to the css-loader. In config/webpack.prod.js
use: {
  loader: "css-loader",
  options: {
    minimize: true
  }
}
This is simple, but it only minimizes on a per file, basis, even though they are combined in the end into main.css. Thus they are denied any cross file optimizations possible. Of course, there's a plugin to solve this.
touch src/nav.css
npm install optimize-css-assets-webpack-plugin
In main.js add nav.css to the list of requires:
require("./nav.css")
Now add a duplicate rule to both main.css and nav.css.
a {
  color: white;
  padding: 10px 20px;
  cursor: pointer;
}
Finally in webpack.prod.js, import the plugin and add it to the array of plugins. At the top:
const OptimizeCssAssetsPlugin = require("optimize-css-assets-webpack-plugin")
At the bottom.
new OptimizeCssAssetsPlugin(),
When we run npm run build with and without OptimizeCssAssetPlugin commented out we see that the addition of this plugin does remove the duplicate anchor tag rules and the results, though less than spectacular, are real and they'll only increase as the project becomes more and more complex.
Without OptimizeCssAssetPlugin:
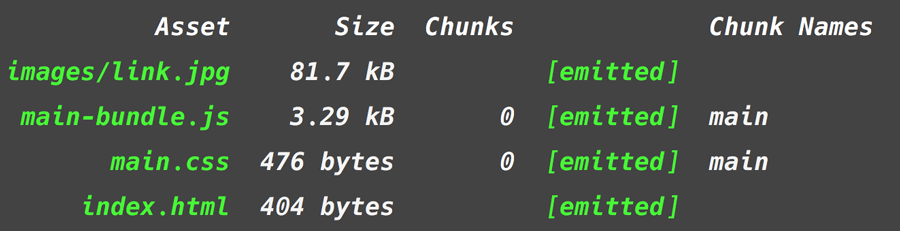
With OptimizeCssAssetPlugin:
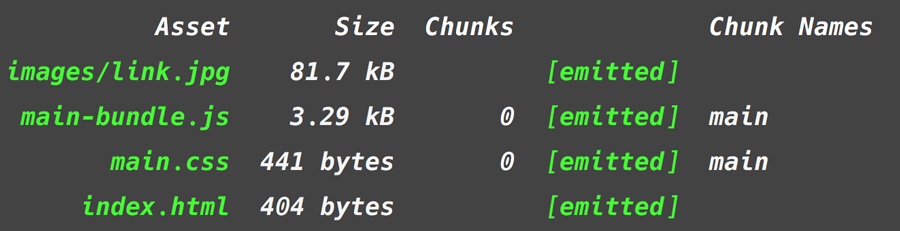
Difference: 35 Bytes (whoohoo, but still).
In Sum
In this article we created a new config file for the production build process. We separated the CSS from the JS for the first time and minimized it using both the loaders and a plugin. Webpack has a few more tricks for Optimizing CSS, which we'll discuss in a future article.
Test Locally
In the terminal:
heroku local
Open http://localhost:5000 in your browser. You should see our hero.
Here's our final code if heroku local doesn't work and you don't want to figure out why:
git checkout prod-css-final
Ship It!
Let's take a little time after every article to push our code to production. In the terminal:
In the terminal:
git commit -am "done"
git push heroku master:prod-css
Double click on the url it gives you at the end of the build.
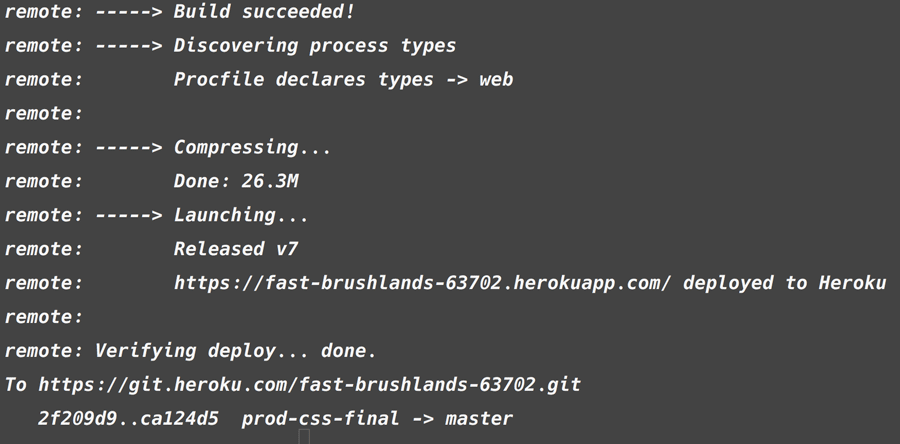
In my case we can Command Double-Click on https://fast-brushlands-63702.herokuapp.com in the terminal to visit the live production site.